This shop has been compensated by Collective Bias, Inc. and its advertiser. All opinions are mine alone. #SimpleGoodness #CollectiveBias
I have two girl cousins on my mom’s side of the family who are pretty close to my age. Whenever my family came to town to visit, the three of us would plan at least one sleepover, preferably at Grandma’s house. There was more room to play, fewer little siblings to bother us, and if we were really lucky, she’d make butterscotch pudding just for us. She always served it warm with NILLA Wafers in shallow ceramic bowls. It was heavenly.
Butterscotch and NILLA Wafers are still one of my favorite dessert combinations. The taste reminds me of playing drive-thru with the handheld shower head in my grandparents’ guest bathroom, or experimenting with Grandma’s brightly colored makeup, or recording goofy videos with her camcorder.
(Yes, the tapes exist somewhere, and no, we do not speak of them.)
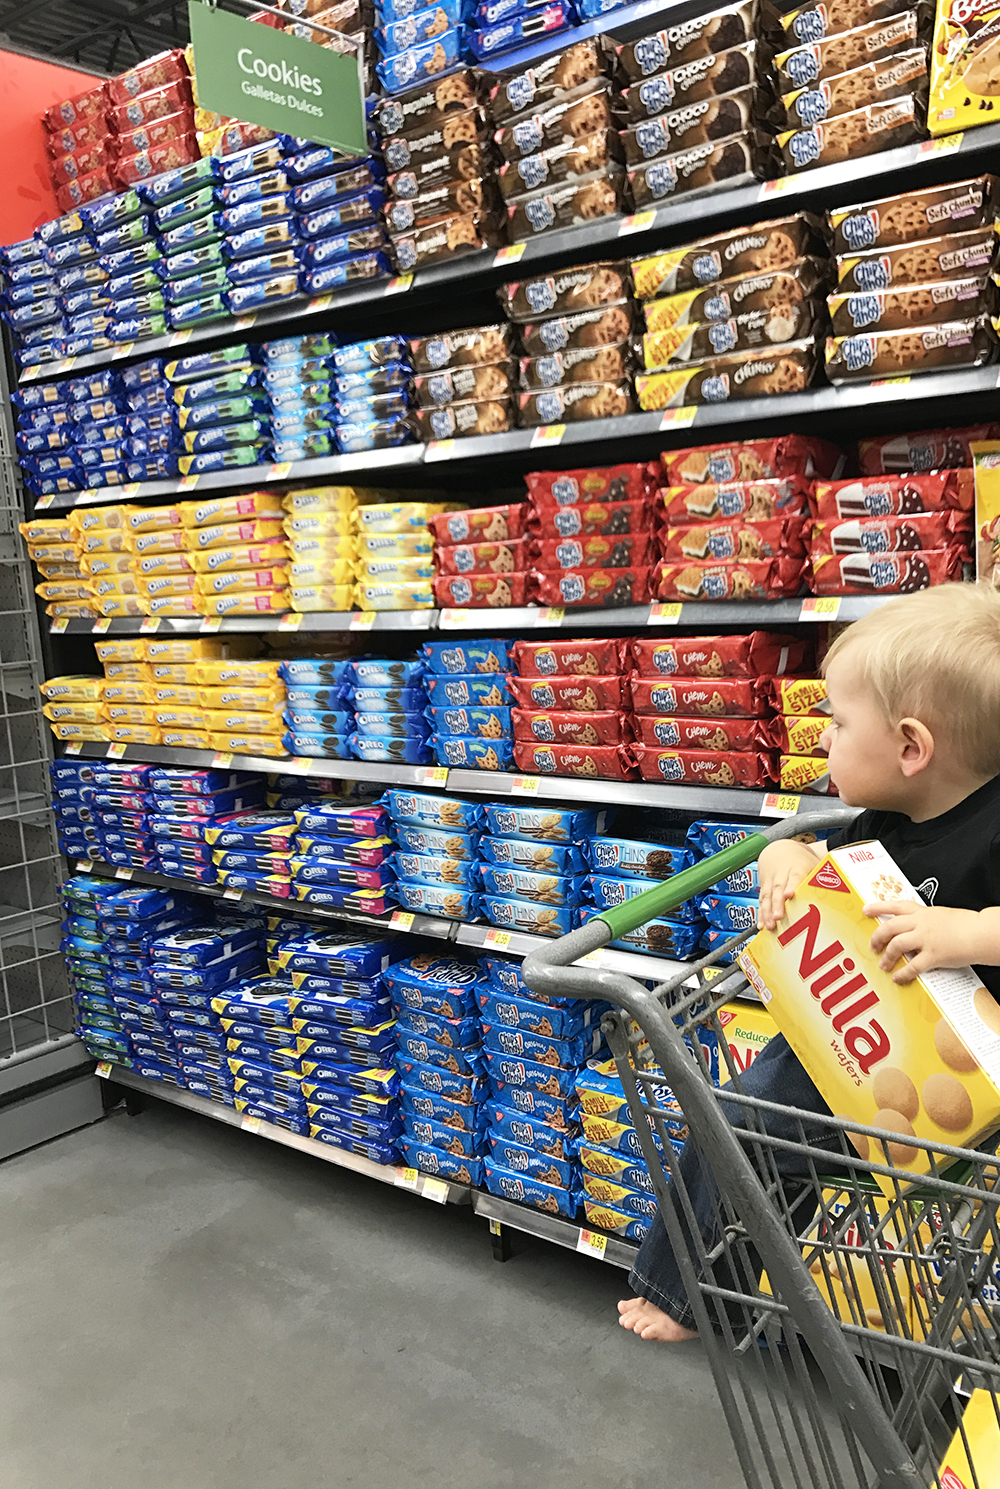
I’m not sure why it took me so long, but I only introduced my kids to NILLA Wafers a few weeks ago. They were a huge hit. Margot asks for “Millas” pretty regularly now, and even Ryan has figured out how to get into the pantry to look for the box. Not that I mind keeping NILLA Wafers in stock; they’re delicious (duh) and right now there’s a sweet rebate through ibotta. You can click the image below or go here to learn more.
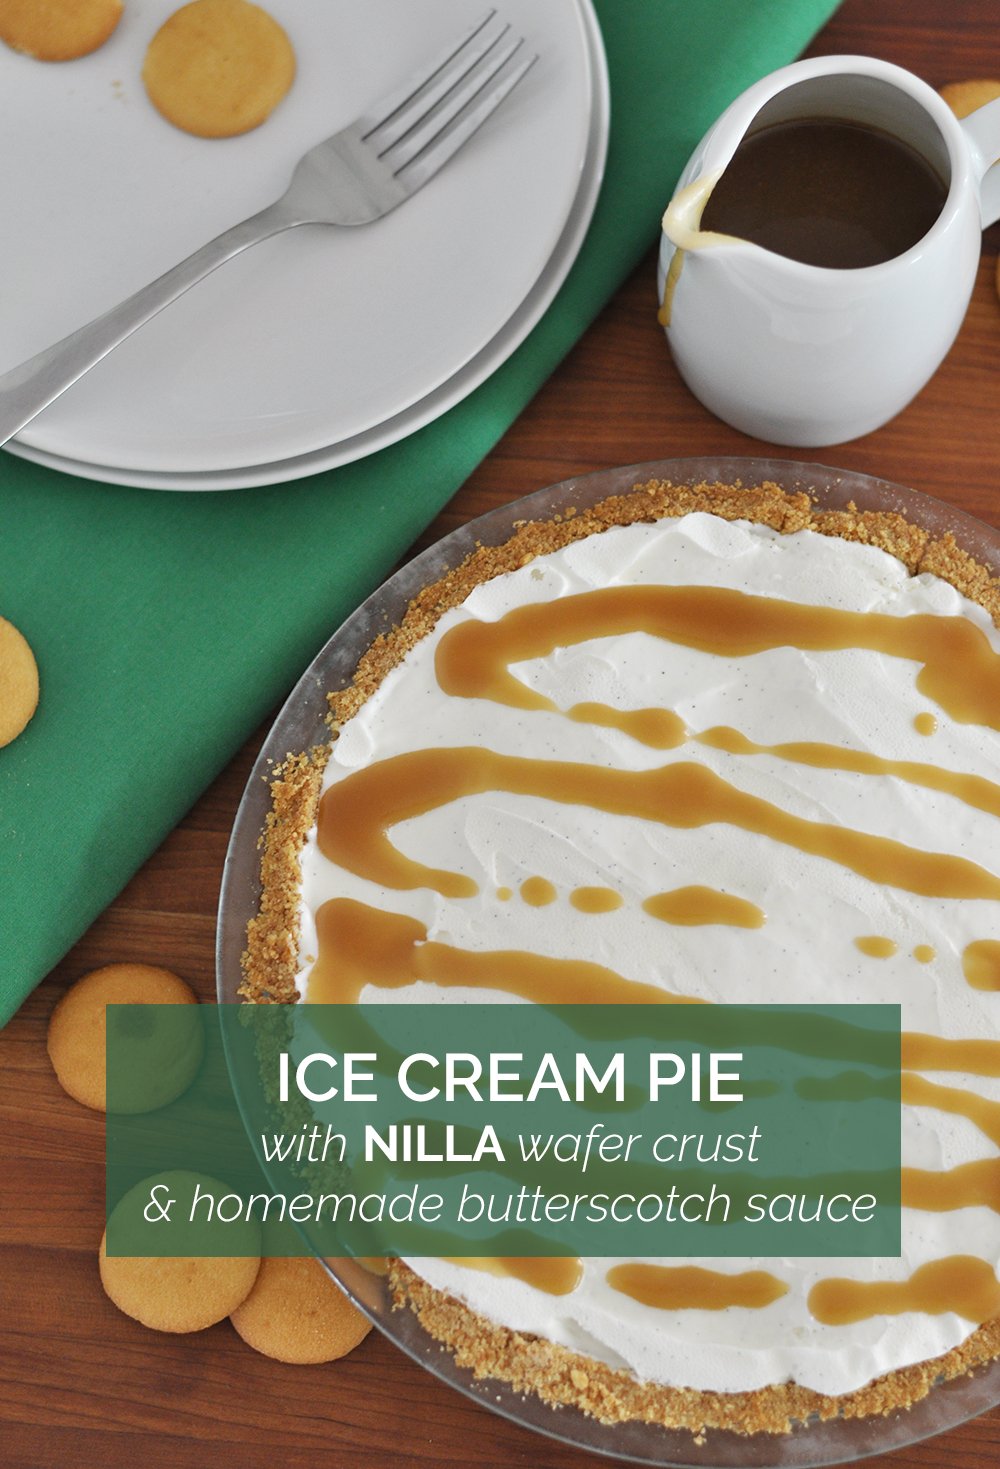
One of these days—maybe in the late fall when it cools down again—I’ll make some warm butterscotch pudding for my family to dunk their NILLA Wafers in. It’s already a little warm in these parts for cozy treats like that. But since NILLA Wafers and butterscotch belong together, I figured I could make us a cool spring/summer variation on my old favorite: an ice cream pie with a NILLA Wafer crust and butterscotch sauce.
The crust is essentially the same as any graham cracker crust (i.e. super easy). I suppose you could make homemade ice cream for the filling, but store bought is easier, faster, and pretty dang delicious. The hardest part was making the butterscotch sauce…and it’s really not that hard. Plus if you’re looking for a way to make your house smell divine, you can’t really beat boiling sugar + butter and adding some vanilla.
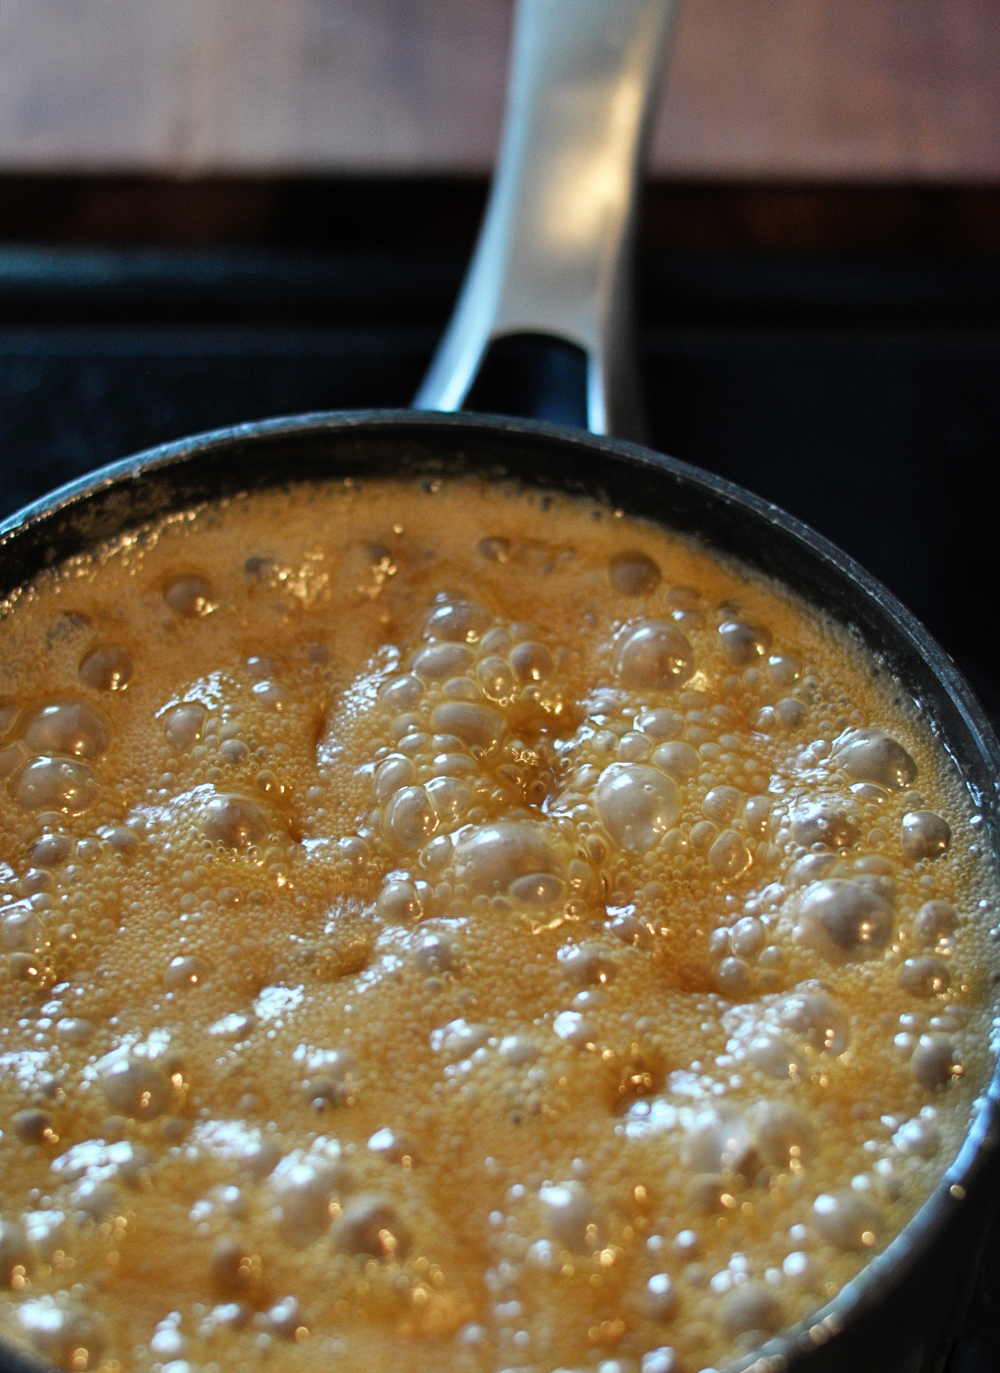
Just maybe use a bigger pot than you think you need. I had a couple minor spills, and the scent of burnt sugar is not quite as divine.
Take a look at those bubbles. Droooool.
Ahem.
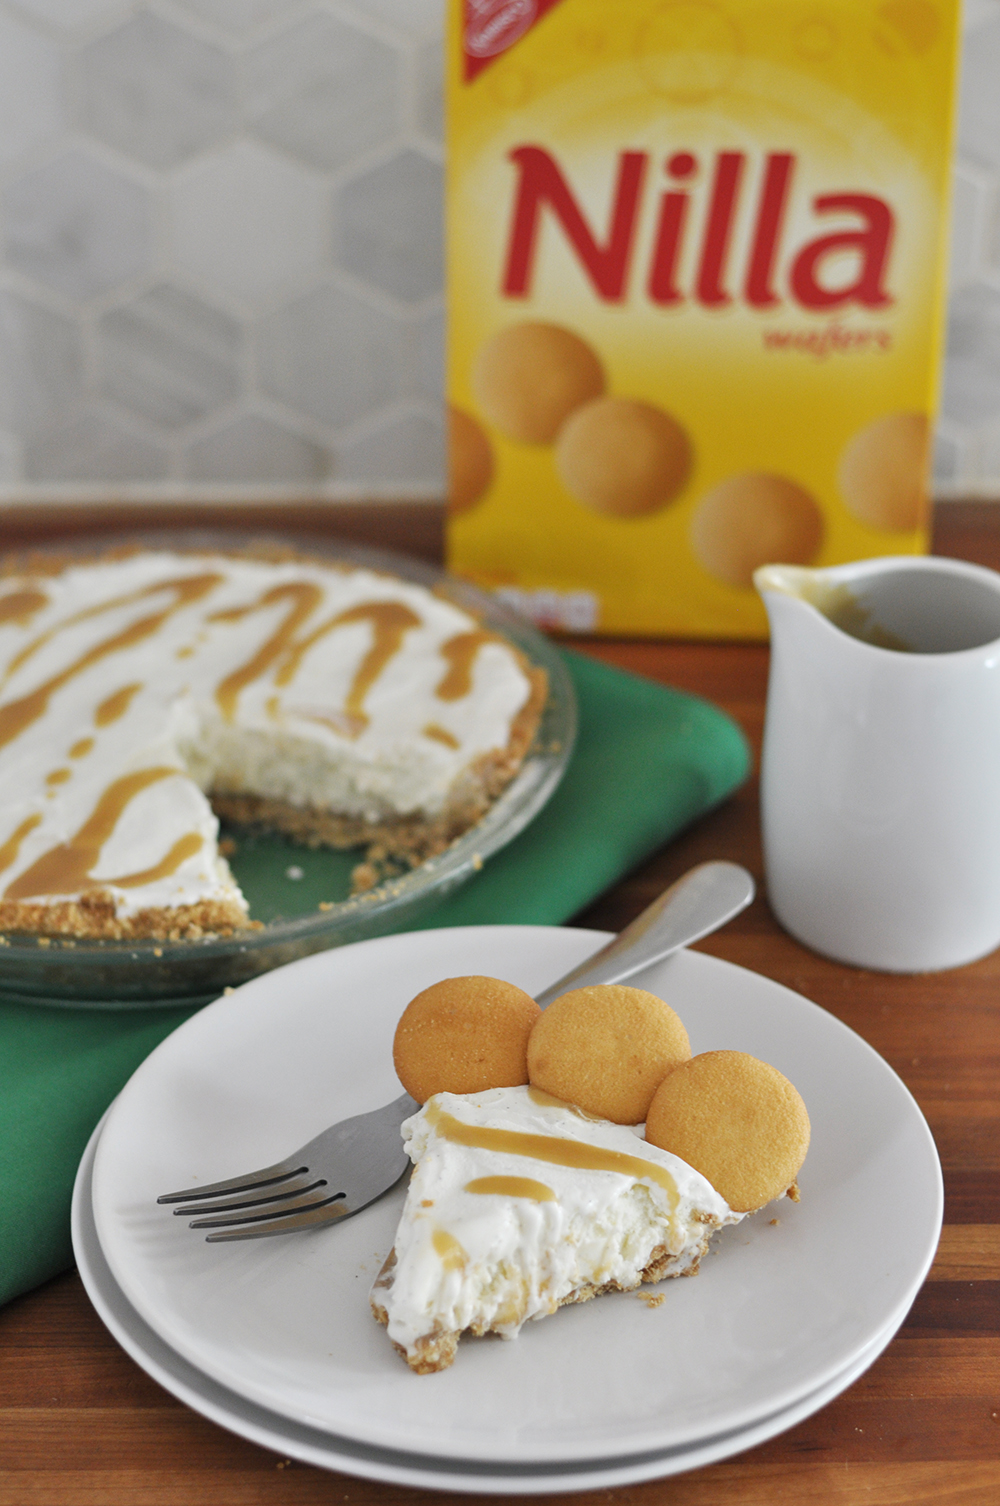
Once you put them all together, the flavors of this ice cream pie complement each other perfectly. Butterscotch + NILLA Wafers = a match made in heaven.
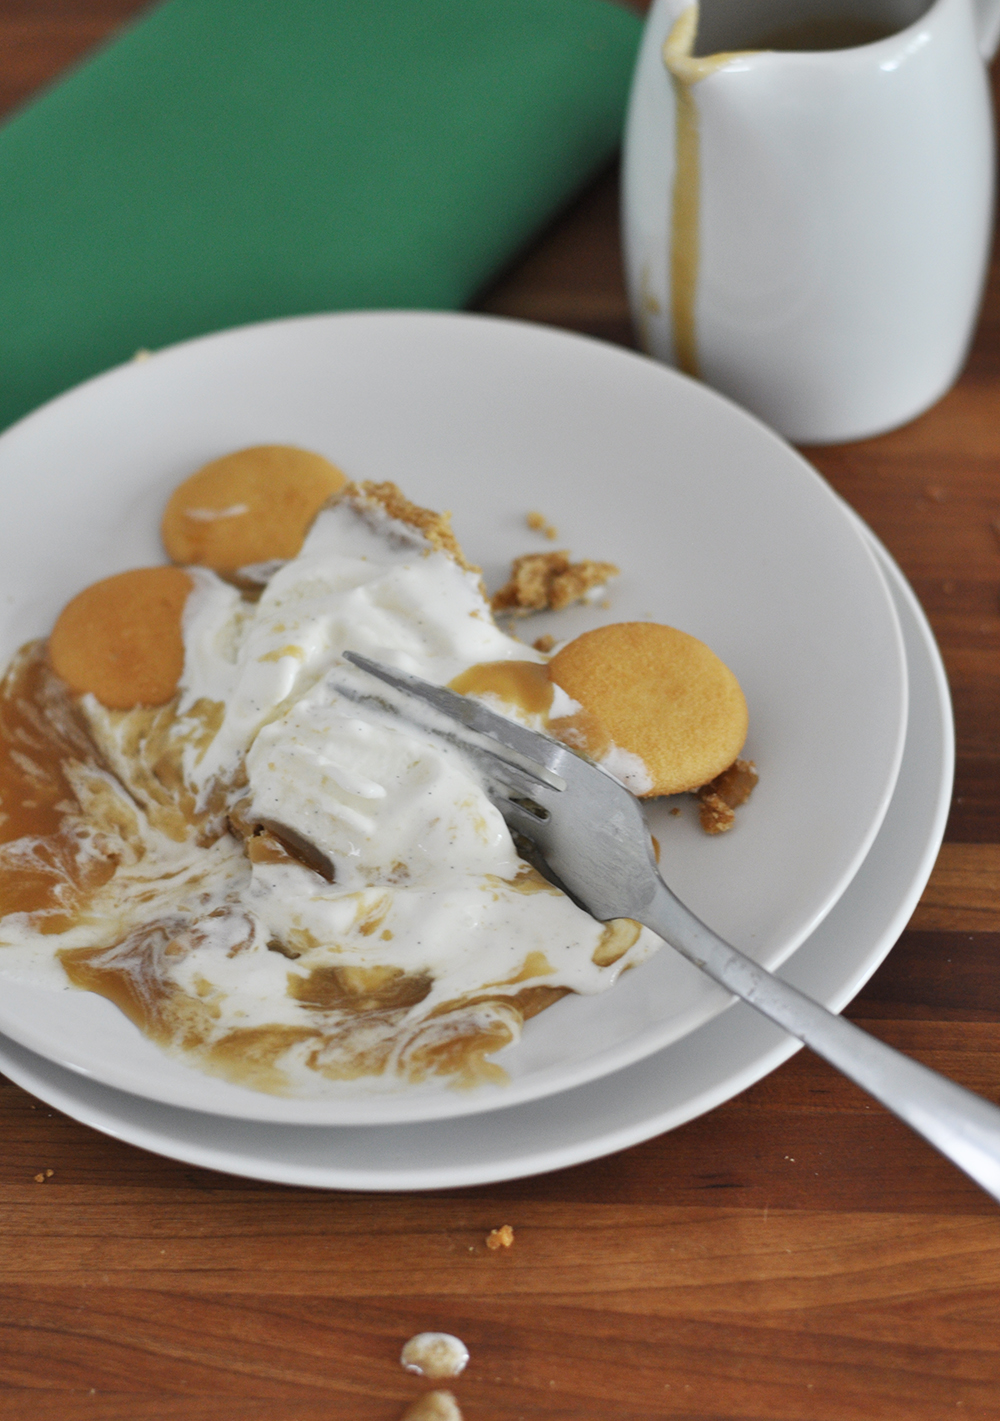
But be sure to gobble it up before it melts. I won’t judge you for slurping it straight off the plate, but you’re not gonna look very dignified doing it. Just saying.
Ice Cream Pie w/ NILLA Wafer Crust & Homemade Butterscotch Sauce
Ingredients
Vanilla ice cream
60 NILLA Wafers*
10 Tablespoons unsalted butter, divided
1 cup brown sugar
3/4 cup heavy cream
1 teaspoon vanilla
1/2 teaspoon salt
For the NILLA Wafer crust*
*(See note at the end of the post if you want to skip this bit!)
Preheat oven to 350°F. Crush the wafers (using a food processor, blender, or bag + rolling pin situation) and pour into a medium bowl. Melt 5 Tablespoons of butter. Pour onto the crushed wafers and stir until mixture is evenly damp. Press firmly into a pie plate. Bake for 10 minutes. Cool completely.
For the butterscotch sauce
In a medium/large saucepan, melt the remaining 5 Tablespoons of butter on medium heat. Add brown sugar and stir to combine. Cook, stirring frequently, allowing the mixture to simmer for a few minutes. It should change from a wet sand consistency to a smooth liquid. Add 1/4 cup of cream and stir in vigorously, then add the remaining cream. Turn the heat up to medium-high and let the sauce boil for 8-10 minutes, stirring occasionally (and watching for boil overs!). Remove from heat and cool slightly before whisking in vanilla and salt. Cool completely.
Assembly
Optional: For an extra decadent treat, pour about half the butterscotch into your prepared pie crust. Place in freezer for an hour or so to harden/cool. This helps prevent your crust from getting soggy or breaking up as you spread the ice cream into it, but the finished ice cream pie may also be more difficult to cut into when it’s finished. As for me, I’m all over the extra butterscotch.
10 minutes before assembly: get ice cream out of the freezer and allow to thaw slightly at room temperature.
Scoop ice cream and gently press + smooth into prepared pie crust (with or without the butterscotch layer). Drizzle with butterscotch sauce. Slice + serve immediately with extra NILLA Wafers + butterscotch sauce OR cover tightly with plastic wrap and freeze until ready to serve. Store extra butterscotch sauce in an airtight container in the refrigerator.
*Nabisco now makes pre-made NILLA Pie Crusts, which would make this ice cream pie even easier to throw together. My local Walmart was all sold out (alas!) but I’m gonna keep my eye out for next time. Luckily I know right where to find the NILLA Wafers themselves: in my favorite part of the cookie aisle. Aw yeah! Visit www.simplegoodness.net to get more NILLA Wafer pie ideas!
And tell me: what foods give you all the nostalgic feels?

Your recipe sounds great! But you left out the scotch part of your sauce. Without the scotch it’s just caramel sauce!
Hazards of having a non-alcoholic kitchen! 😉
Sounds WONDERFUL!! Can’t wait to make and taste it!! Thanks for sharing!!!